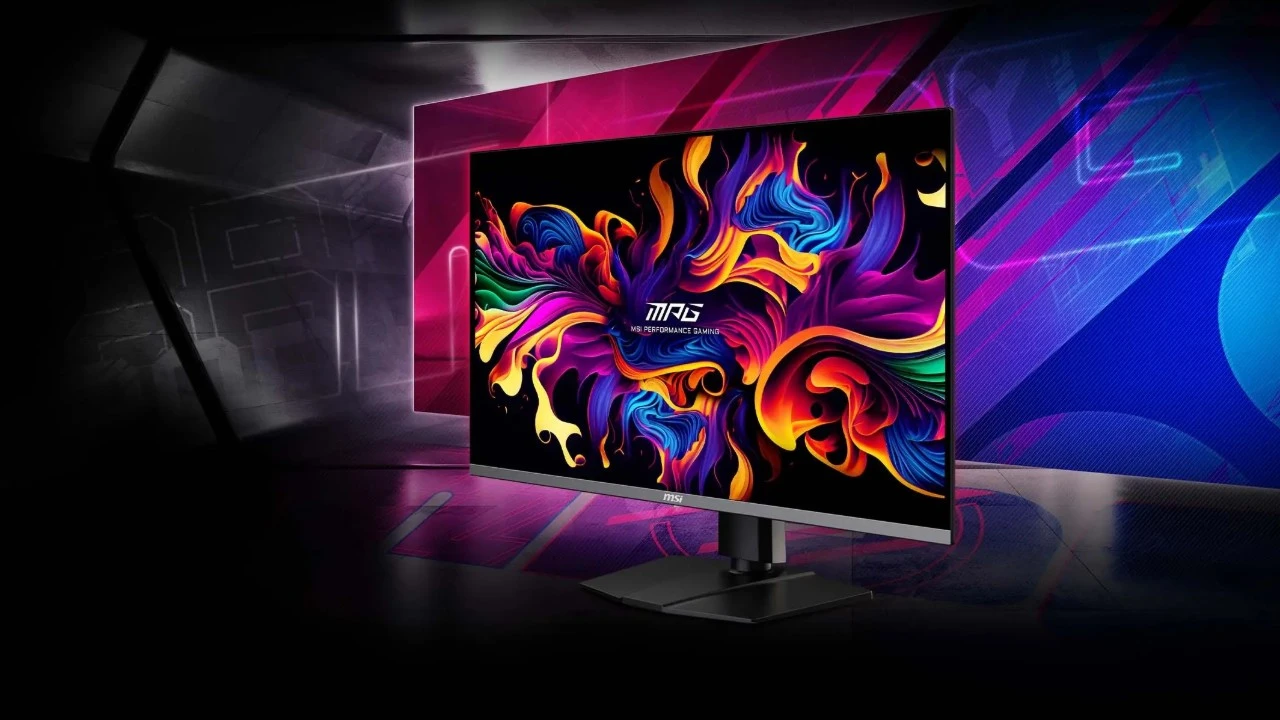
MSI’s QD-OLED gaming monitors have been consistently updated with new firmware to enhance performance, add features, and fix bugs.
The MAG 271QPX QD-OLED E2 has garnered attention for its exceptional display quality and gaming performance. Keeping the firmware updated is essential to ensure you get the best experience out of this monitor.
Here’s a step-by-step guide to updating the firmware on your MAG 271QPX QD-OLED E2.
Table of Contents
Why Update the Firmware?
Firmware updates for monitors like the MAG 271QPX often include new features, improved performance, and bug fixes. For example, in recent updates, MSI has improved input lag, optimized HDR settings, and added new aspect ratio modes. Ensuring your monitor runs the latest firmware can enhance its usability and compatibility with various devices, such as gaming consoles and PCs.
Steps to Update the Firmware
1. Install MSI Gaming Intelligence Software:
To begin, download MSI’s Gaming Intelligence software from their official support page. This software is essential for updating your monitor’s firmware. The file size is approximately 500MB, so ensure you have a stable internet connection.
2. Connect Your Monitor to Your PC:
Use the provided USB-A to USB-B cable to connect your monitor to your PC. This connection is necessary for the software to communicate with the monitor and initiate the firmware update process.
3. Check the Current Firmware Version:
Before proceeding, check the firmware version currently installed on your monitor. This can be found in the bottom-right corner of the on-screen menu. Knowing your current version helps ensure you’re upgrading to the latest version.
4. Download the Latest Firmware:
Visit the MSI support page for your monitor model and download the latest firmware file. These files are typically small (under 1MB) and quick to download. Once downloaded, unzip the file and save it to an accessible location on your desktop.
5. Update the Firmware
- Open the MSI Gaming Intelligence software.
- Click the gear icon in the top-right corner to access settings.
- Navigate to the firmware update section and select the “Scala” button.
- Follow the on-screen instructions, taking note of any warnings.
- Select the firmware file you downloaded and press “Update.”
The update process takes approximately 9 minutes. During this time, avoid disconnecting the monitor or closing the software.
6. Final Steps:
After the update is complete, unplug and reconnect the monitor’s AC power cable. Once restarted, check the firmware version in the on-screen menu to confirm the update was successful.
Recent Firmware Enhancements
MSI’s recent firmware updates have included significant improvements:
- Input Lag Reduction: Input lag has been reduced, particularly for 60Hz operation, making the monitor more suitable for external devices such as gaming consoles. For instance, input lag at 60Hz has dropped significantly, improving responsiveness for low-refresh-rate scenarios.
- OLED Care Settings: Features like image retention mitigation are now enabled by default, ensuring better longevity for the display.
- HDR Optimizations: Issues with enabling HDR when DSC is disabled have been resolved, allowing seamless switching between modes.
- New Aspect Ratio Modes: Additional aspect ratio options have been added, offering more flexibility for various use cases, including simulating specific screen sizes.
Troubleshooting and Future Updates
If you encounter any issues during the update process, ensure the USB connection is secure and the correct firmware file is selected. MSI is continually working on improvements, such as addressing brightness inconsistencies in HDR modes. Keep an eye on the support page for further updates.
Conclusion
Updating the firmware on your MAG 271QPX QD-OLED E2 is a straightforward process that unlocks new features and ensures optimal performance. By staying updated, you can enjoy the full potential of your gaming monitor while benefiting from MSI’s continuous enhancements. Take advantage of these updates and elevate your gaming experience today.

