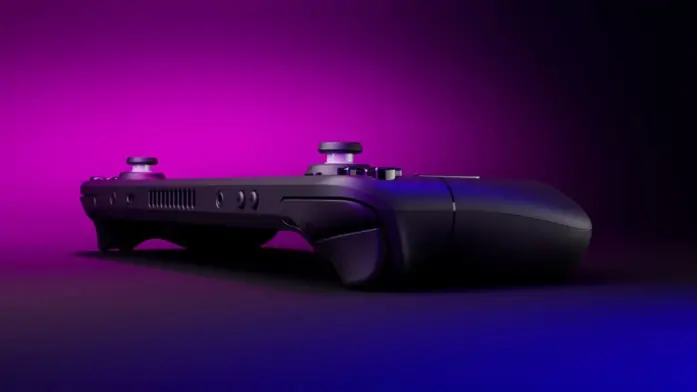
The Steam Deck is a versatile gaming handheld that offers the freedom to enjoy your favorite PC games while on the move. With its portable design, robust hardware, and extensive game library, it’s a top choice for gamers seeking on-the-go entertainment. However, when the craving for a more immersive gaming experience strikes, the Steam Deck provides a straightforward solution: connecting it to a TV or monitor via the HDMI port on your dock.
In this article, we’ll guide you through the process of effortlessly connecting your Steam Deck to an external display. This will enable you to relish your gaming adventures on a larger screen. Additionally, we’ll delve into configuring your Steam Deck to intelligently use the external monitor when connected and seamlessly switch back to the built-in display when you’re on the move.
Whether you’re yearning for a cinematic gaming experience or the convenience of gaming on the Steam Deck’s built-in screen, we’ve got you covered with our easy-to-follow instructions.
Table of Contents
Connecting Your Steam Deck to a TV or Monitor
Before you can configure your Steam Deck to use an external display, you need to connect it properly. Here are the steps to connect your Steam Deck to a TV or monitor:
- Prepare Your Steam Deck: Make sure your Steam Deck is powered on and in Desktop Mode. Desktop Mode is essential for configuring external displays.
- Dock Your Steam Deck: Place your Steam Deck into the dock, ensuring that it is securely connected. The dock has an HDMI port that you’ll use to connect to your TV or monitor.
- Connect HDMI Cable: Take an HDMI cable and connect one end to the HDMI port on the Steam Deck dock and the other end to an available HDMI input on your TV or monitor.
- Turn On TV or Monitor: Power on your TV or monitor and set it to the correct HDMI input source. The Steam Deck display should now be mirrored on the external screen.
Now that your Steam Deck is connected to an external display, let’s configure it to use only the external monitor when connected and switch back to the built-in display when disconnected.
Configuring External Display Only
Configuring the Steam Deck to use only the external monitor when connected and switching back to the built-in display when disconnected is straightforward. Here are the steps:
- Access Desktop Mode: Ensure that your Steam Deck is in Desktop Mode. You can switch to Desktop Mode from the Steam Deck’s main interface.
- Open Display Settings: In Desktop Mode, click on the “Settings” icon, and then select “Display.” This will open the Display Settings window.
- Configure External Display: With your Steam Deck docked and connected to the external monitor, you should see both the built-in Steam Deck display and the external monitor listed in the Display Settings.
- Select External Monitor: Click on the external monitor’s name in the Display Settings. This will highlight the external monitor’s settings.
- Set External Monitor as Main: Look for an option that allows you to set the external monitor as the main display. The wording might vary depending on your Linux distribution, but it’s typically something like “Make this my main display” or “Set as the primary monitor.”
- Disable Built-In Display: After setting the external monitor as the main display, you may also find an option to disable the built-in display. Click on the built-in display, and look for an option like “Disable” or “Turn off this display.”
- Apply Changes: Once you’ve configured the settings as described above, click the “Apply” button or “Save” to save your changes.
Conclusion
Now, with these settings in place, your Steam Deck seamlessly transitions to utilizing the external monitor the moment it’s connected to the dock, enhancing your gaming experience on a grander canvas. When it’s time to go mobile and you undock your Steam Deck, it intelligently reverts to the built-in display, ensuring gaming continuity on the move.
That’s all there is to it! You’ve accomplished the task of connecting your Steam Deck to a TV or monitor and fine-tuning it to exclusively use the external display when docked. The world of PC gaming now awaits you on the big screen, while the flexibility to switch to portable mode, wherever your adventures take you, remains at your fingertips. Happy gaming!


